
How to Install Fortnite Cheats on Windows (Full Setup Guide)
Most setup failures happen before the loader is ever opened. This covers the firmware and Windows settings that have to be right, the correct order of steps, and how to verify everything before your first match.
Fortnite cheat setup gets described as hard. It mostly is not. It is just order sensitive, and the parts people skip are the parts that decide whether the loader attaches at all.
This walkthrough covers the whole chain: firmware, Windows features, activation, launch order and verification. Work through it in sequence. Skipping ahead to the loader is the single most common reason a first install fails.
Before anything: check the requirements
Confirm all of this on your own machine first:
- Windows 10 or 11, 64 bit
- HVCI on
- Core Isolation on
- TPM on
- Secure Boot on
- 8 GB RAM minimum, 16 GB recommended
- CPU virtualisation enabled in firmware
If any of these are off, the cheat will not run properly and no amount of reinstalling will fix it.
Step 1: Firmware settings
Reboot into BIOS or UEFI. You are looking for Secure Boot under the Security or Boot tab (set to Enabled), TPM or PTT or fTPM, and CPU virtualisation (Intel VT-x or AMD SVM Mode). HVCI and Core Isolation are Windows settings, but they depend on virtualisation being on.
Save and exit. If Secure Boot refuses to enable, check that your boot drive is GPT and that the install is UEFI rather than legacy. A legacy install will block Secure Boot entirely.
Step 2: Windows security settings
Open Windows Security, then Device security, then Core isolation details. Turn Memory integrity on. This is HVCI. Reboot, then confirm both are actually active in System Information, because Windows will quietly revert the toggle if a driver blocks it.
Step 3: Enable Hyper-V
The cheat stack runs through Cloud DMA, which provisions a Hyper-V based environment on your PC. Open Turn Windows features on or off, tick Hyper-V and the Hyper-V Platform entry, and apply. Windows Pro, Enterprise and Education carry the role natively. Home editions need the installer notes for the workaround.
Reboot when prompted. Do not skip the reboot.
Step 4: Activate Cloud DMA
Cloud DMA is the layer everything else sits on, and it needs GREENWARD, a Static Server and AWS before activation. Have them ready, run the installer as administrator, and let activation finish over the encrypted service link. If activation stalls, open a ticket rather than retrying blind.
Step 5: Prepare Fortnite
- Set display mode to borderless windowed. Fullscreen exclusive is where overlays most often fail.
- DirectX 12 is the safer path for overlay rendering.
- Disable or close other overlays: RTSS, MSI Afterburner and the Discord overlay.
Step 6: Launch in the right order
Launch Fortnite to the lobby first, run the loader as administrator, wait for the menu to draw, then load a saved config. If the menu does not appear, close both, confirm Hyper-V is still enabled, and repeat once.
Step 7: Configure before your first match
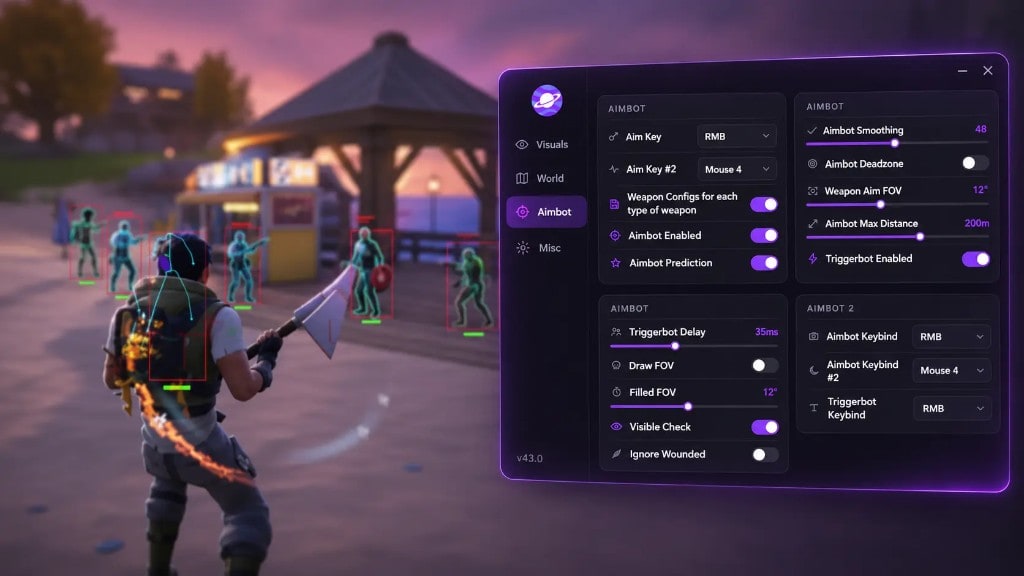
Bind the aimbot key and battlemode toggle, set aim FOV low for build fights, separate ESP colours, cap radar distance, tune item ESP by rarity, and save configs for Build and Zero Build.
Common mistakes worth avoiding
- Running the loader before the game
- Leaving fullscreen exclusive on
- Antivirus quarantining the loader without an exclusion
- Enabling HVCI after setup without rebooting and re-activating Cloud DMA
- Skipping the reboot after Hyper-V
- Testing in a live match before the lobby works
When to stop and ask
Open a ticket from Support if activation will not complete, if Hyper-V will not enable, or if the menu draws but nothing populates. Include Windows edition, build number, and the step where it failed.
Once it is running, the Fortnite cheat page lists the full feature set, and Cloud DMA explains the infrastructure layer.